Intro
There are two kinds of pages that can be added to the Web Store, Category Pages and Content Pages. Both of these page types can be created under the Edit Web Store Content button under the Marketplaces tab in FieldStack.
It will look something like this:
Creating Category Pages
The first thing you will do every time you create a new page (of any kind) is to click the "New" button in the bottom left hand corner of the Web Store Content Management screen.

The New button will create a new page, which is visible in the left hand column. It will have an automatically assigned Section Id. Section Name will continue to be blank until you fill in the information in the Info tab, on the right side of the Web Store Content Management window.
The Info Tab
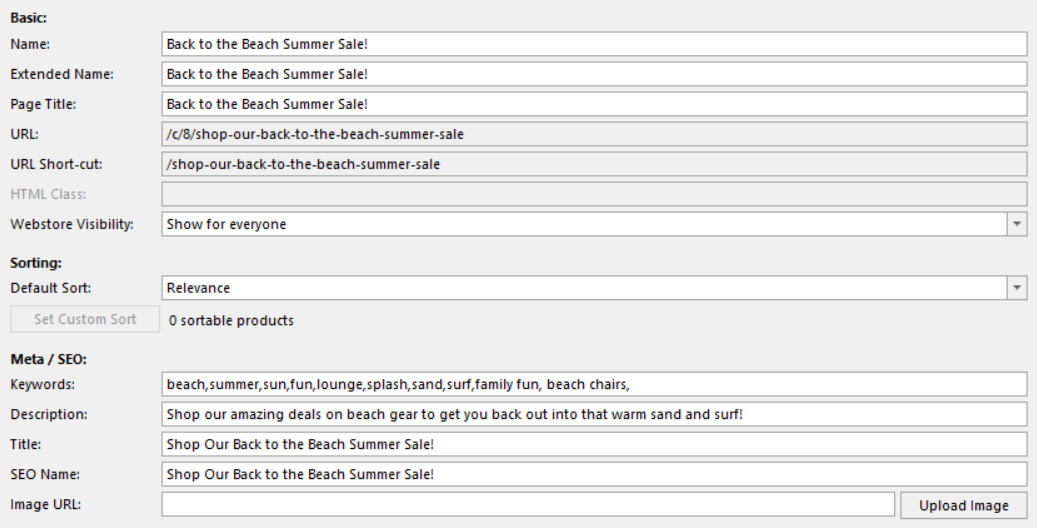
Fill out:
- Name
- Extended Name
- Page Title
- Webstore Visibility - You can keep it hidden while you build & test it or make it only visible to admins
- Keywords
- Description (The description that shows up under the name of the page when someone sees it on Google)
- Title (What shows up in the browser when a customer is online)
- SEO Name (The title that shows up when someone sees this page on Google)
To make this a category page, we will have to choose a Promotion or Section that was previously created.
Click the Promo/Loyalty/Section dropdown and select the Section that is right for this category.

The HTML Tab
The HTML tab allows you to control any content that you want to appear at the top of the page, before the product listings. These products will correlate to the product Section chosen in the Info tab. You can edit two types of content: the primary content, and the footer content that appears below the products listings. Simply click Edit Content or Edit Footer and an HTML/WYSIWYG form will pop up.
In the example below the content for the Senior Dog Shop page is designed using HTML and pasted into the HTML content box using Edit Content. Since this is a category page, the product Section would control the items that displayed beneath the HTML content.

Once the Promo/Loyalty/Section is linked and the category is saved, the page will display like this:
The Menu Tab
This is an important tab. This tab determines whether or not your new page appears in the primary menu. You must make sure that Visible in Menu is checked before the page will be available for customers to see and browse. This allows you to edit a page that is not yet live, and will not affect a customer's experience.
If you want the tab to simply redirect the user to a different page, insert a link into the Link Url field.
If you'd like some HTML to show up on that menu item, click Edit Menu HTML, where you will be able to use the HTML/WYSIWYG form.
In this example below, we want the Category Page to show in the menu and it contains its own sub-menu designed using HTML.
In the menu at the top of the site, the Cats category will display like this, with the additional HTML showing below it:
Was this article helpful?
That’s Great!
Thank you for your feedback
Sorry! We couldn't be helpful
Thank you for your feedback
Feedback sent
We appreciate your effort and will try to fix the article