Store transfers allow users to send inventory from one store to another using a tracked purchase order. The sending store creates a transfer, scans items out, and the destination store receives the items either one at a time or all at once using Stage All. This ensures every item that leaves one store can be accounted for at the other.
This is for the “Tightly Bound” Purchase order locking type for receive mode, a Location Setting in Configuration Management.

If you do not have the “Tightly Bound” Configuration, please see Store-to-Store Transfers on the POS (Legacy) for more information on the store transfer process.
Before You Begin
To create and process store transfers, the following must be in place:
- The sending clerk must have Send permission.
- The receiving clerk must have Receive permission.
- Both stores must be linked through a vendor relationship in the system. If a store does not appear as a destination when creating a transfer, the store relationship may need to be configured.
- The Sending machine must have the setting Store Transfer Quick Access Enabled set to True, a Machine Setting in Configuration Management.

Note: The list of available destination stores is filtered by your Store Group. If a store you expect to see is not listed, it may belong to a different group. Your active Store Group is shown in the lower-center area of the FieldStack application.
Sending a Transfer
1. Enter Send Mode by clicking the orange POS Mode button in the top left of the POS Selling screen and Select Send. The screen background will change to red.
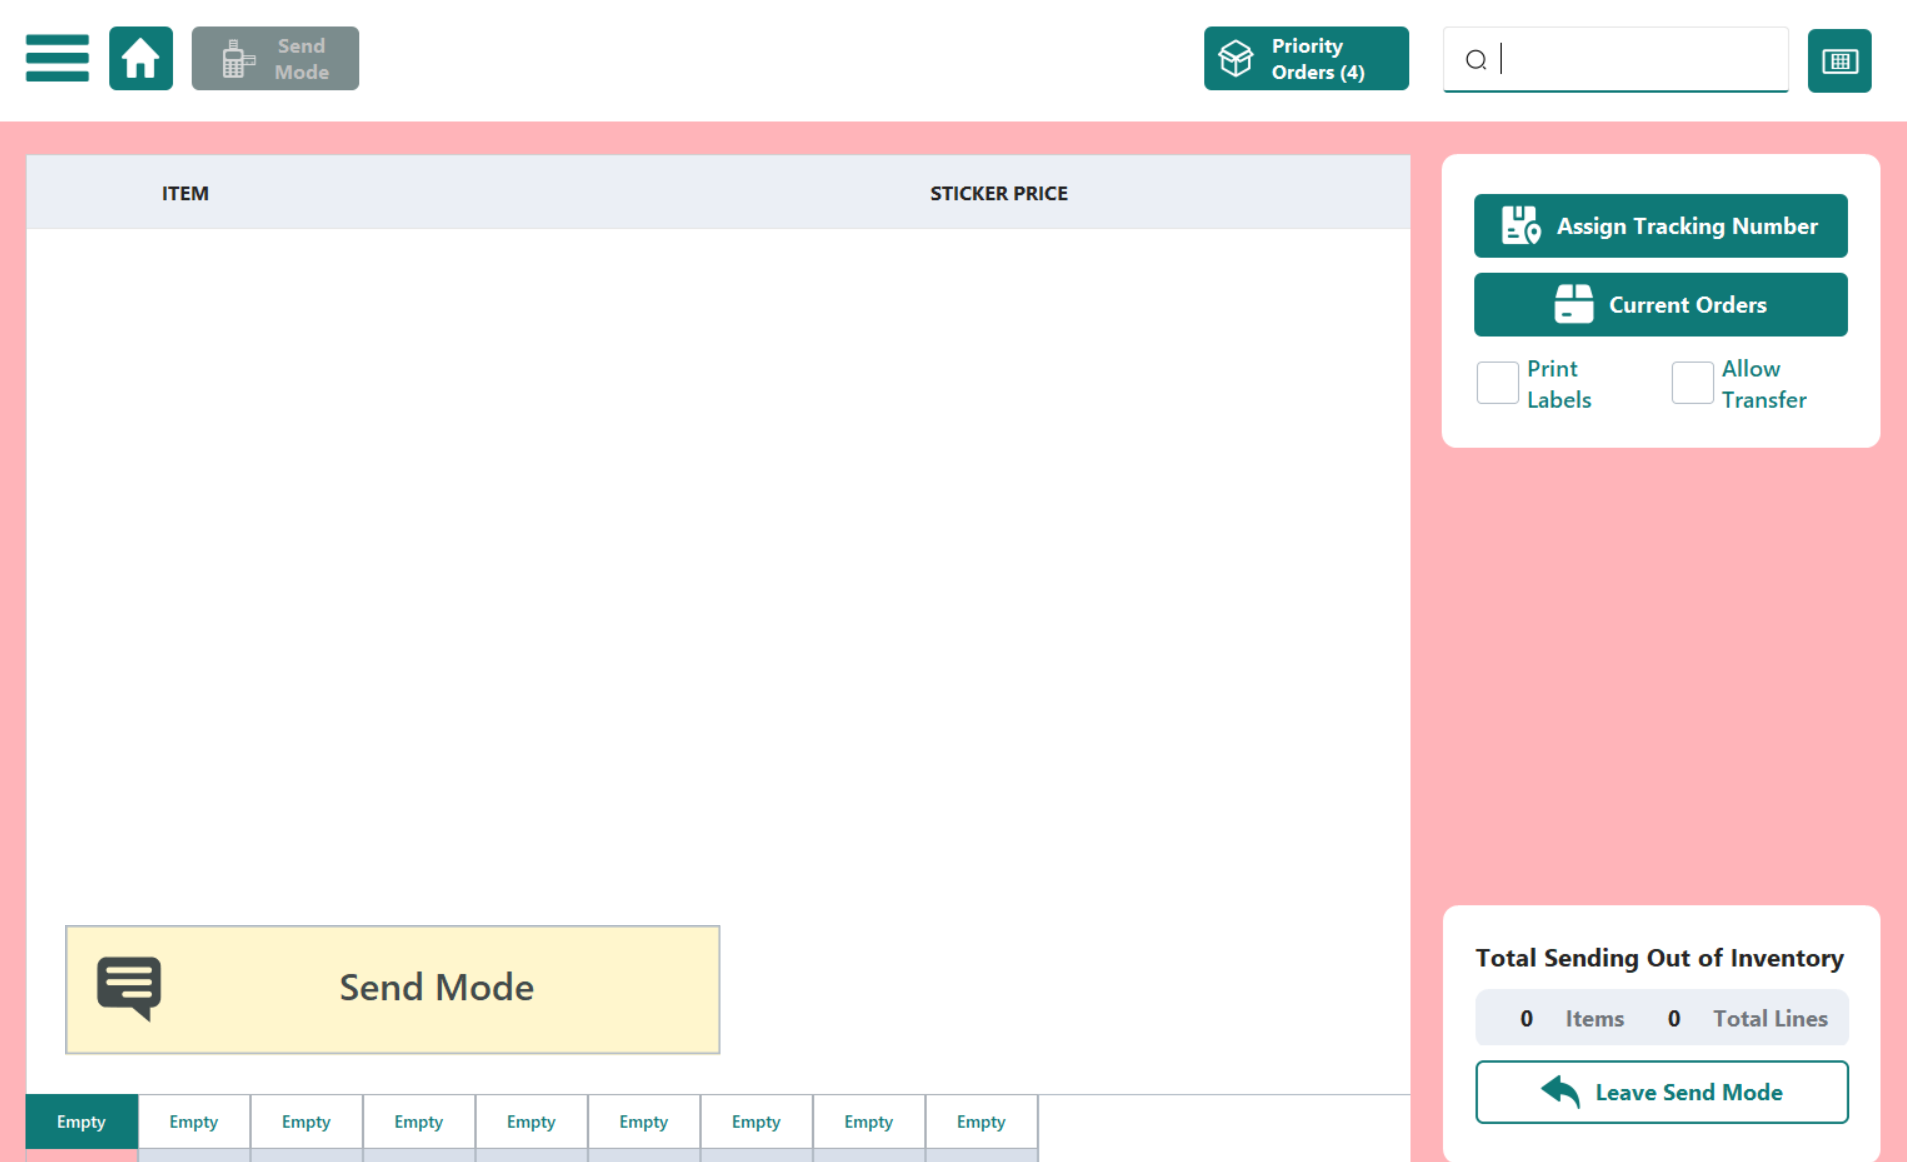
2. Tap Assign Tracking Number - This step associates the outgoing items with a trackable transfer order.
3. Tap Create Transfer. A store selector will appear showing all available destination stores.
Note: If the Create Transfer button is not visible, your location may not be configured for this “Tightly Bound” workflow. See Inventory - Receiving & Sending Product for more information on Configuration Variations.
4. Select the Destination Store and Tap Create. Choose the store you are sending product to. This generates the transfer purchase order.
5. Scan each item you are sending, just as you normally would in Send mode. All scanned items will be recorded against the transfer PO.
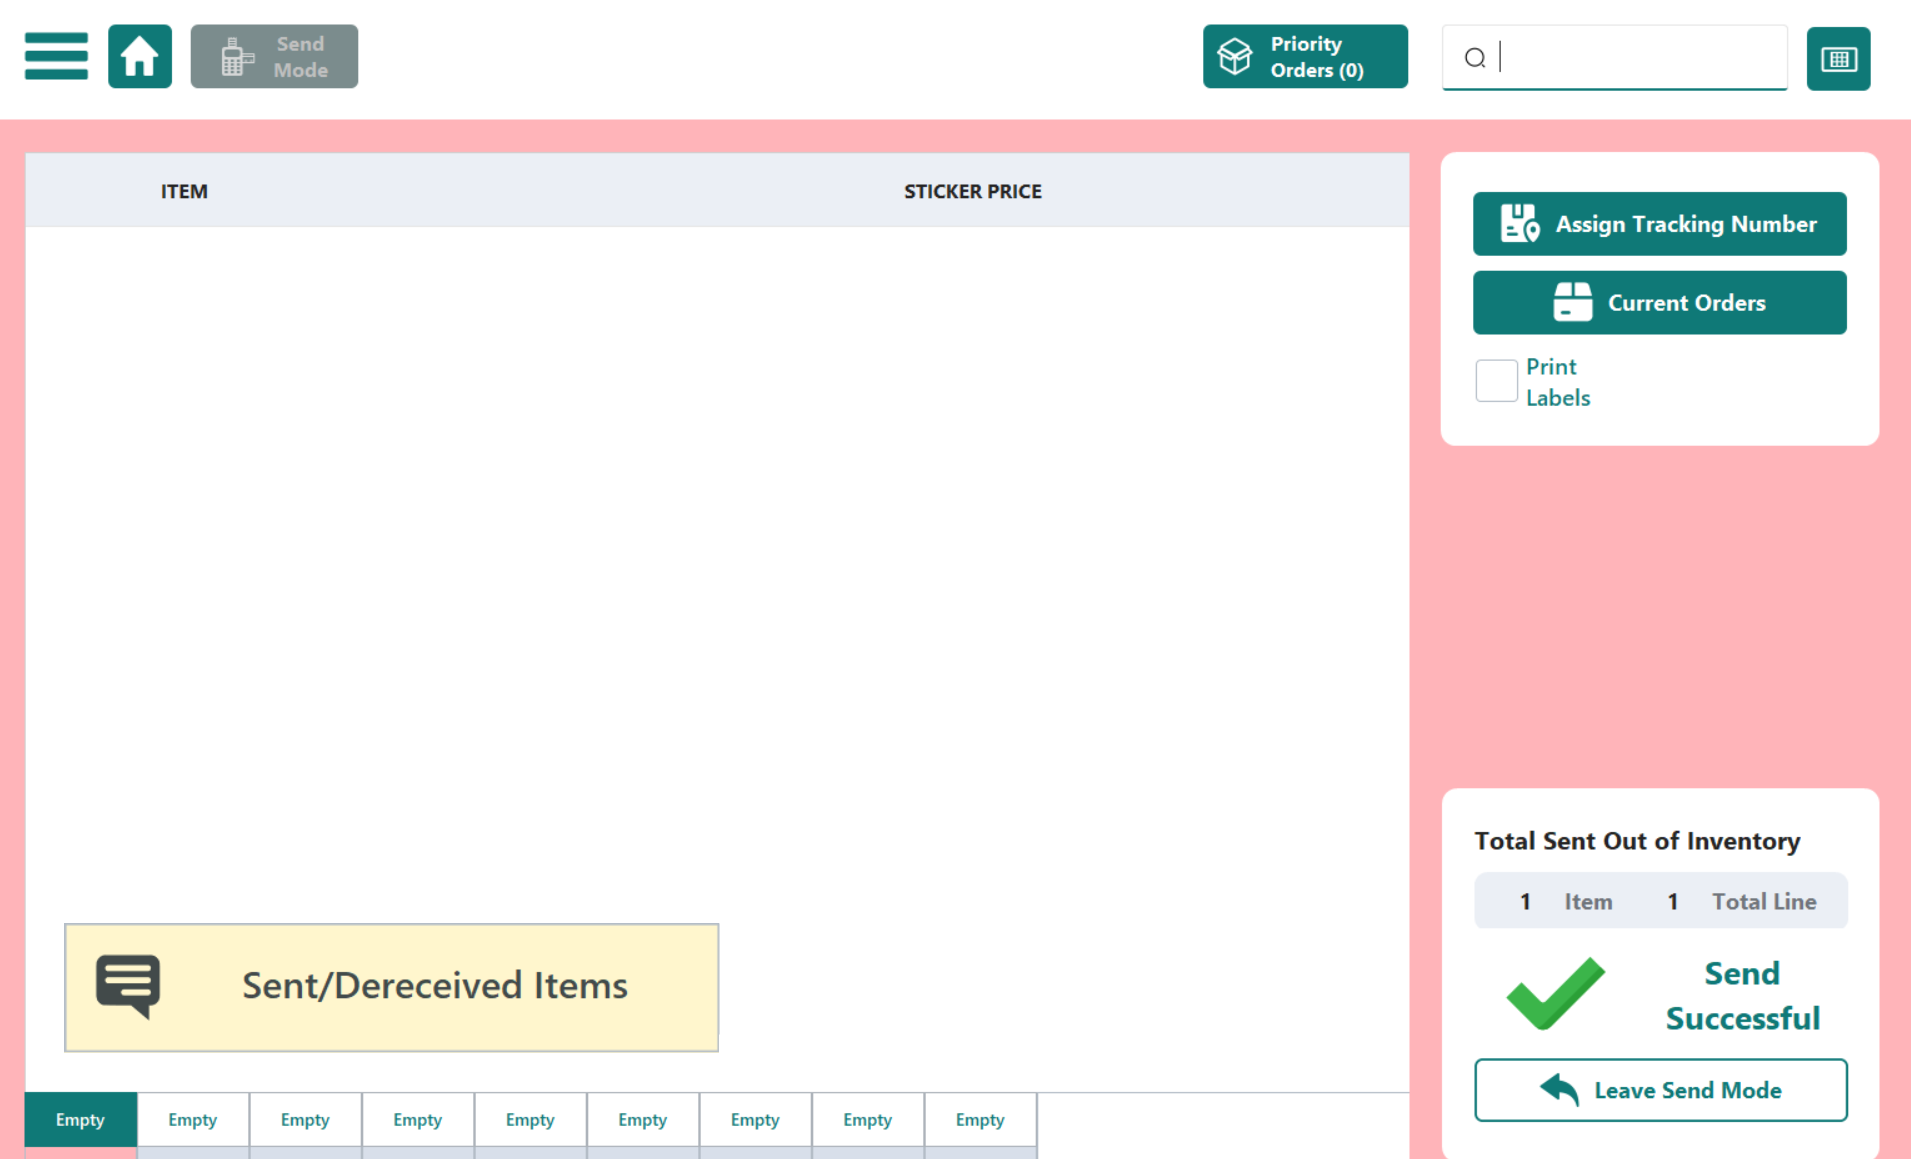
6. When all items have been scanned, click the orange Send [x] items button in the bottom right. The system will record the inventory leaving your store and create a corresponding incoming order at the destination store.
Receiving a Transfer
See Inventory - Receiving & Sending Product for more information on how to Receive a Store Transfer.
Was this article helpful?
That’s Great!
Thank you for your feedback
Sorry! We couldn't be helpful
Thank you for your feedback
Feedback sent
We appreciate your effort and will try to fix the article